
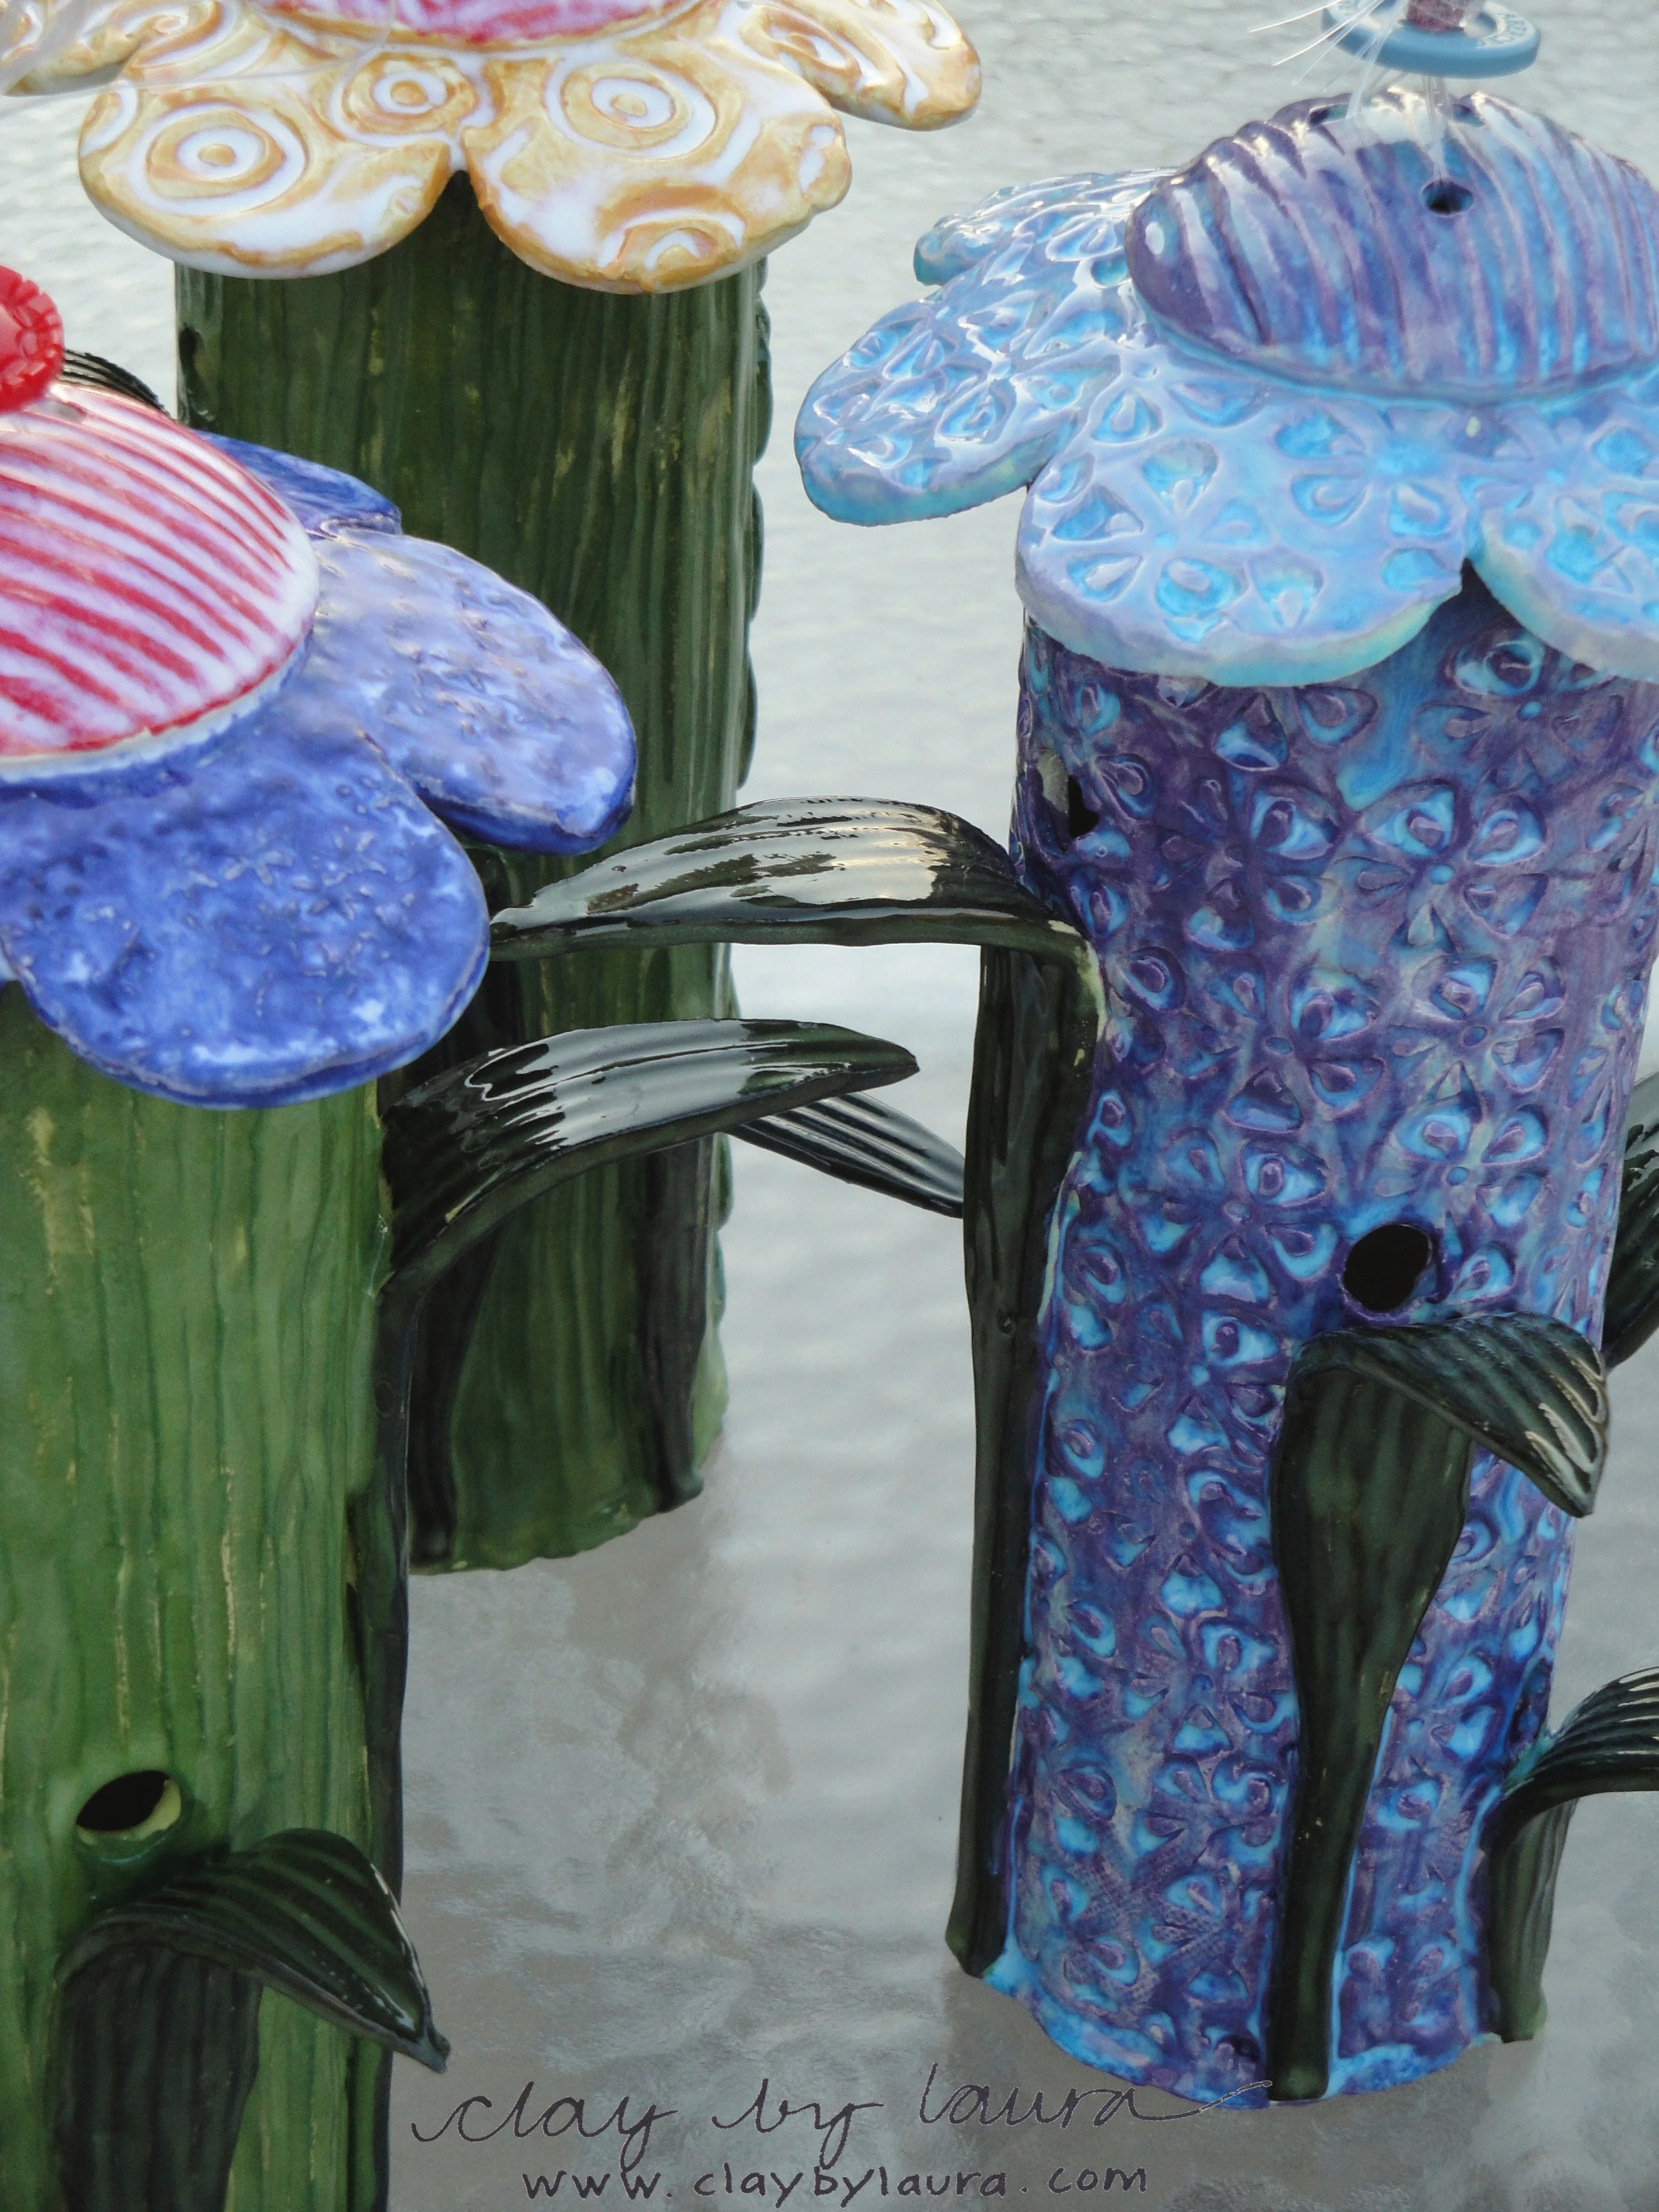
The lyric quoted in the blog title above is from one of the songs in the musical Wicked that I saw this weekend. It sums up what happened in the studio this week perfectly! I’ve made this flower-shaped bird feeder in the past. I like how it looks, but the functionality was lacking. This week, I decided to revisit the shape and figure out how I could improve its design.

I always make a template when I begin a project. I can easily adjust the design this way. Once I am happy with what I've made, I know I can recreate it again.
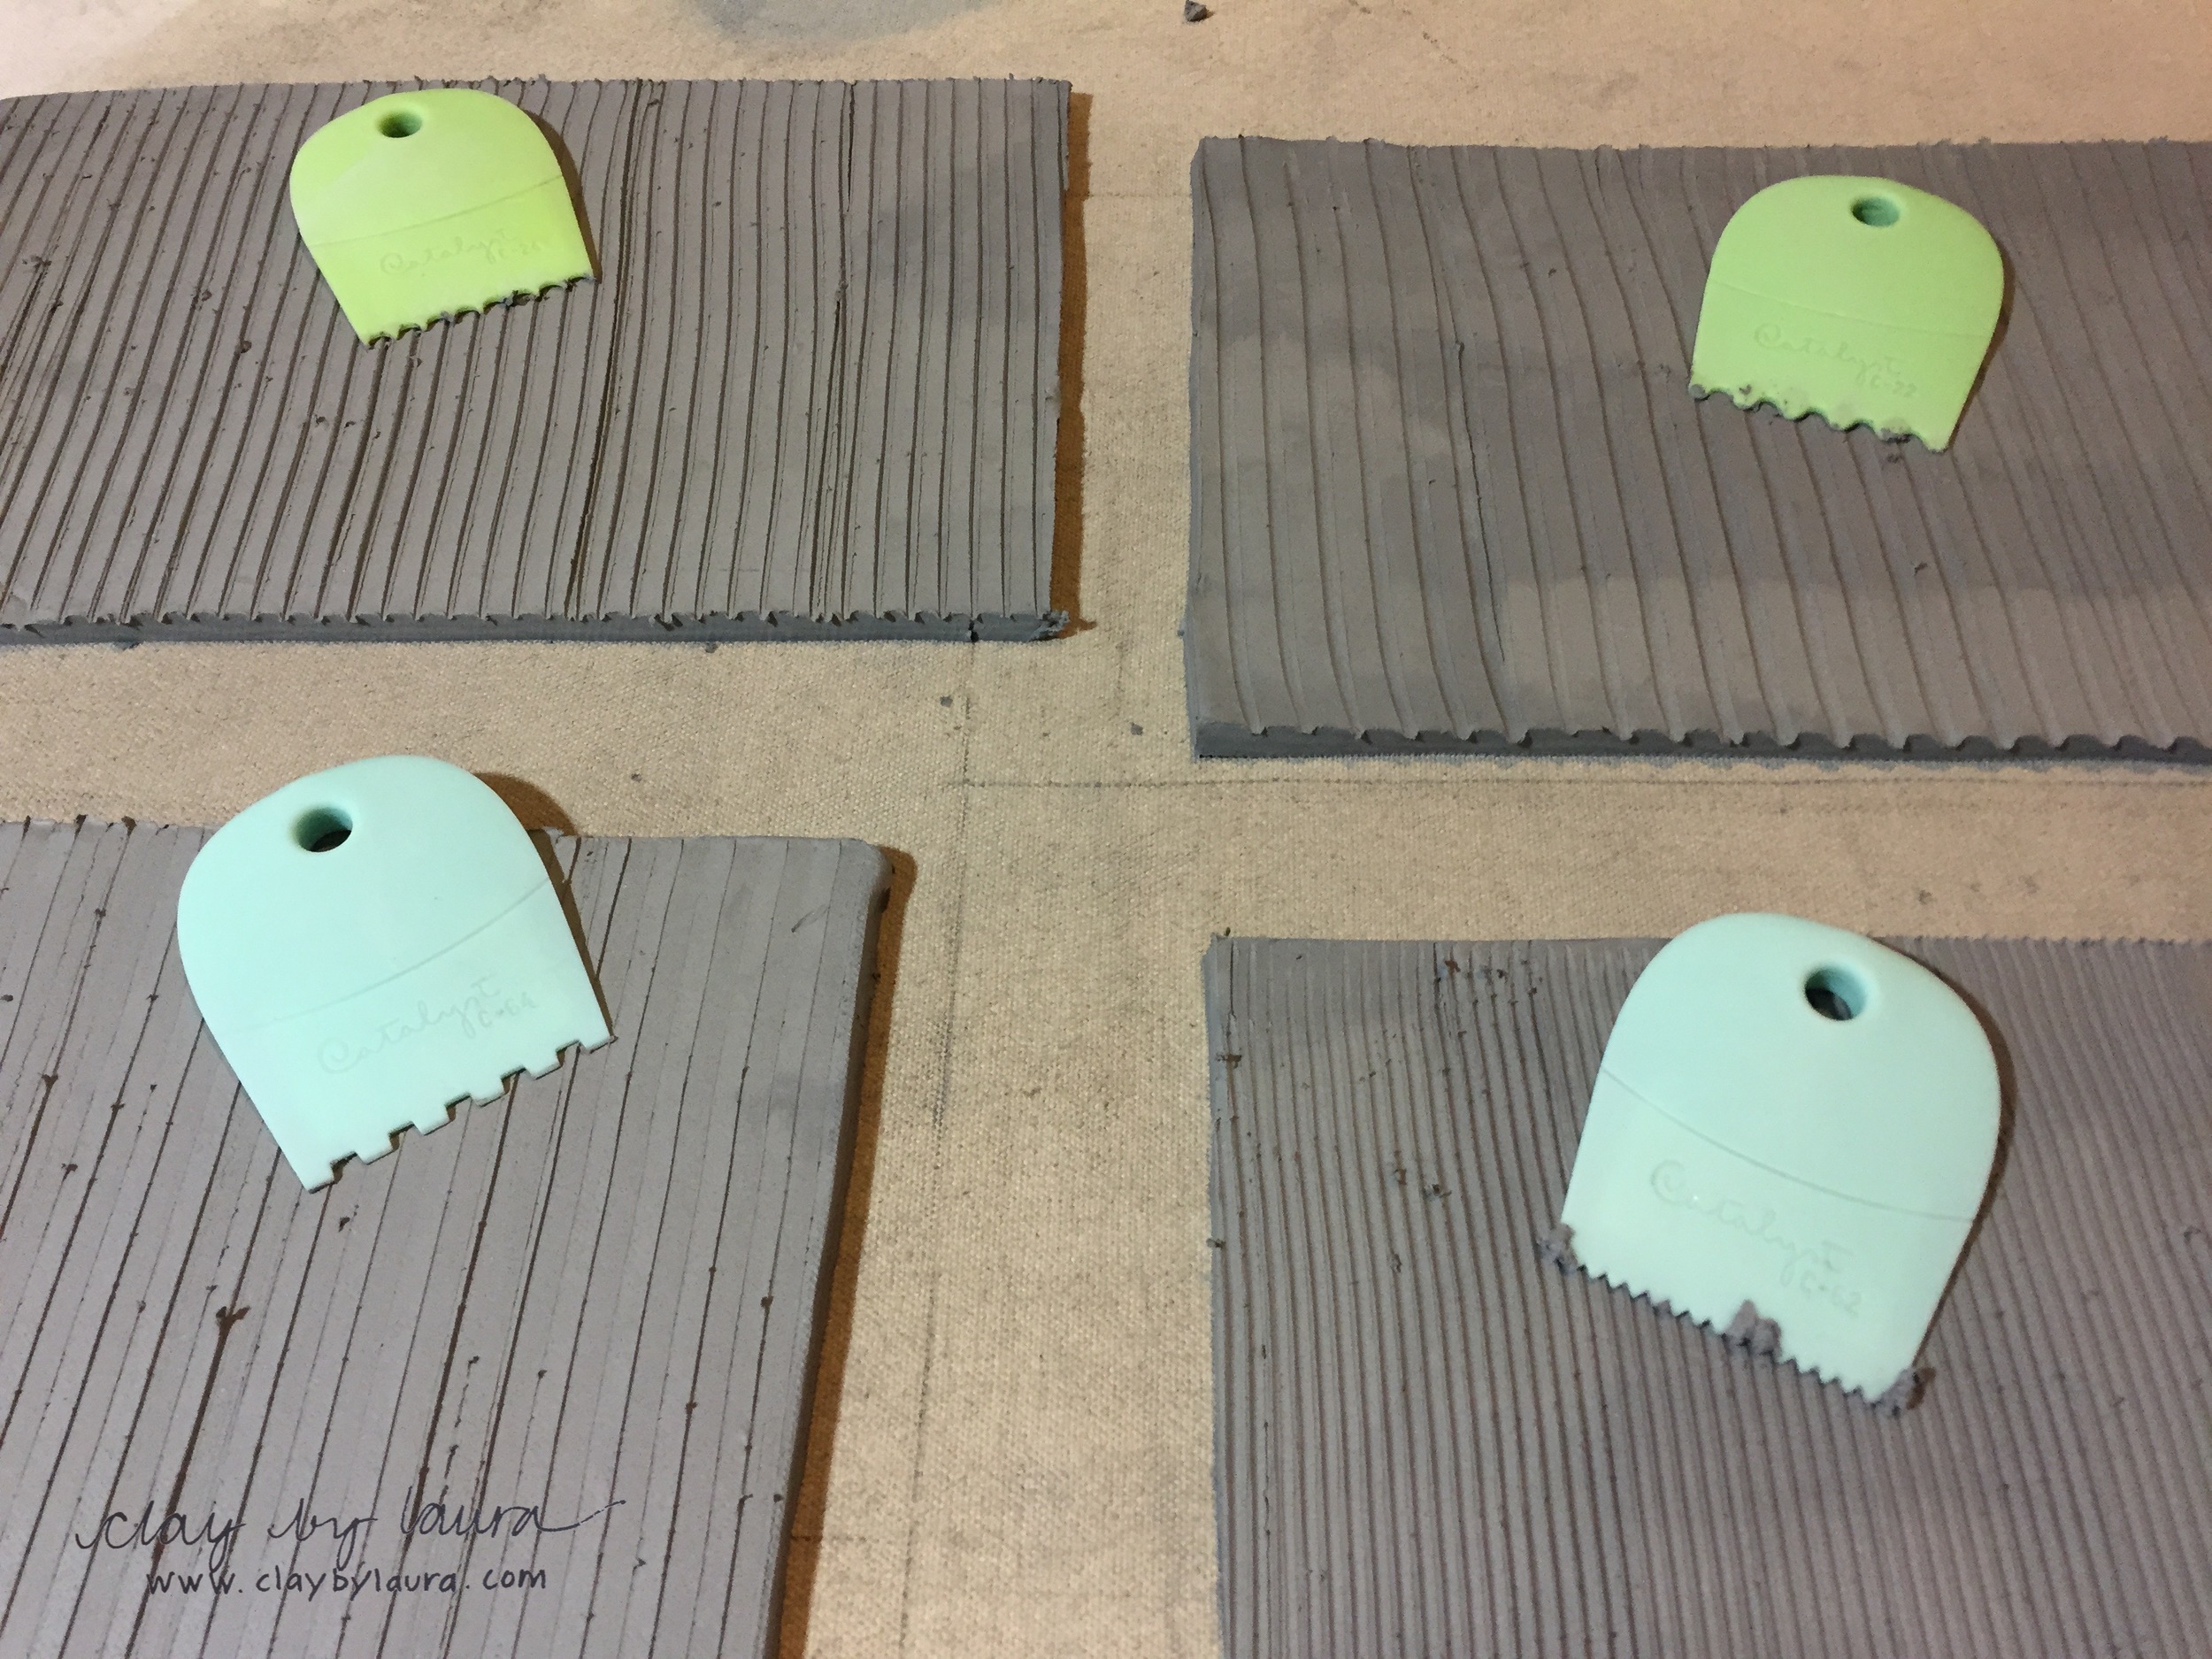
I bought some new texture tools on a trip to AC Moore. I found these in the painter's tools section. I like the different grooves they create in the clay.
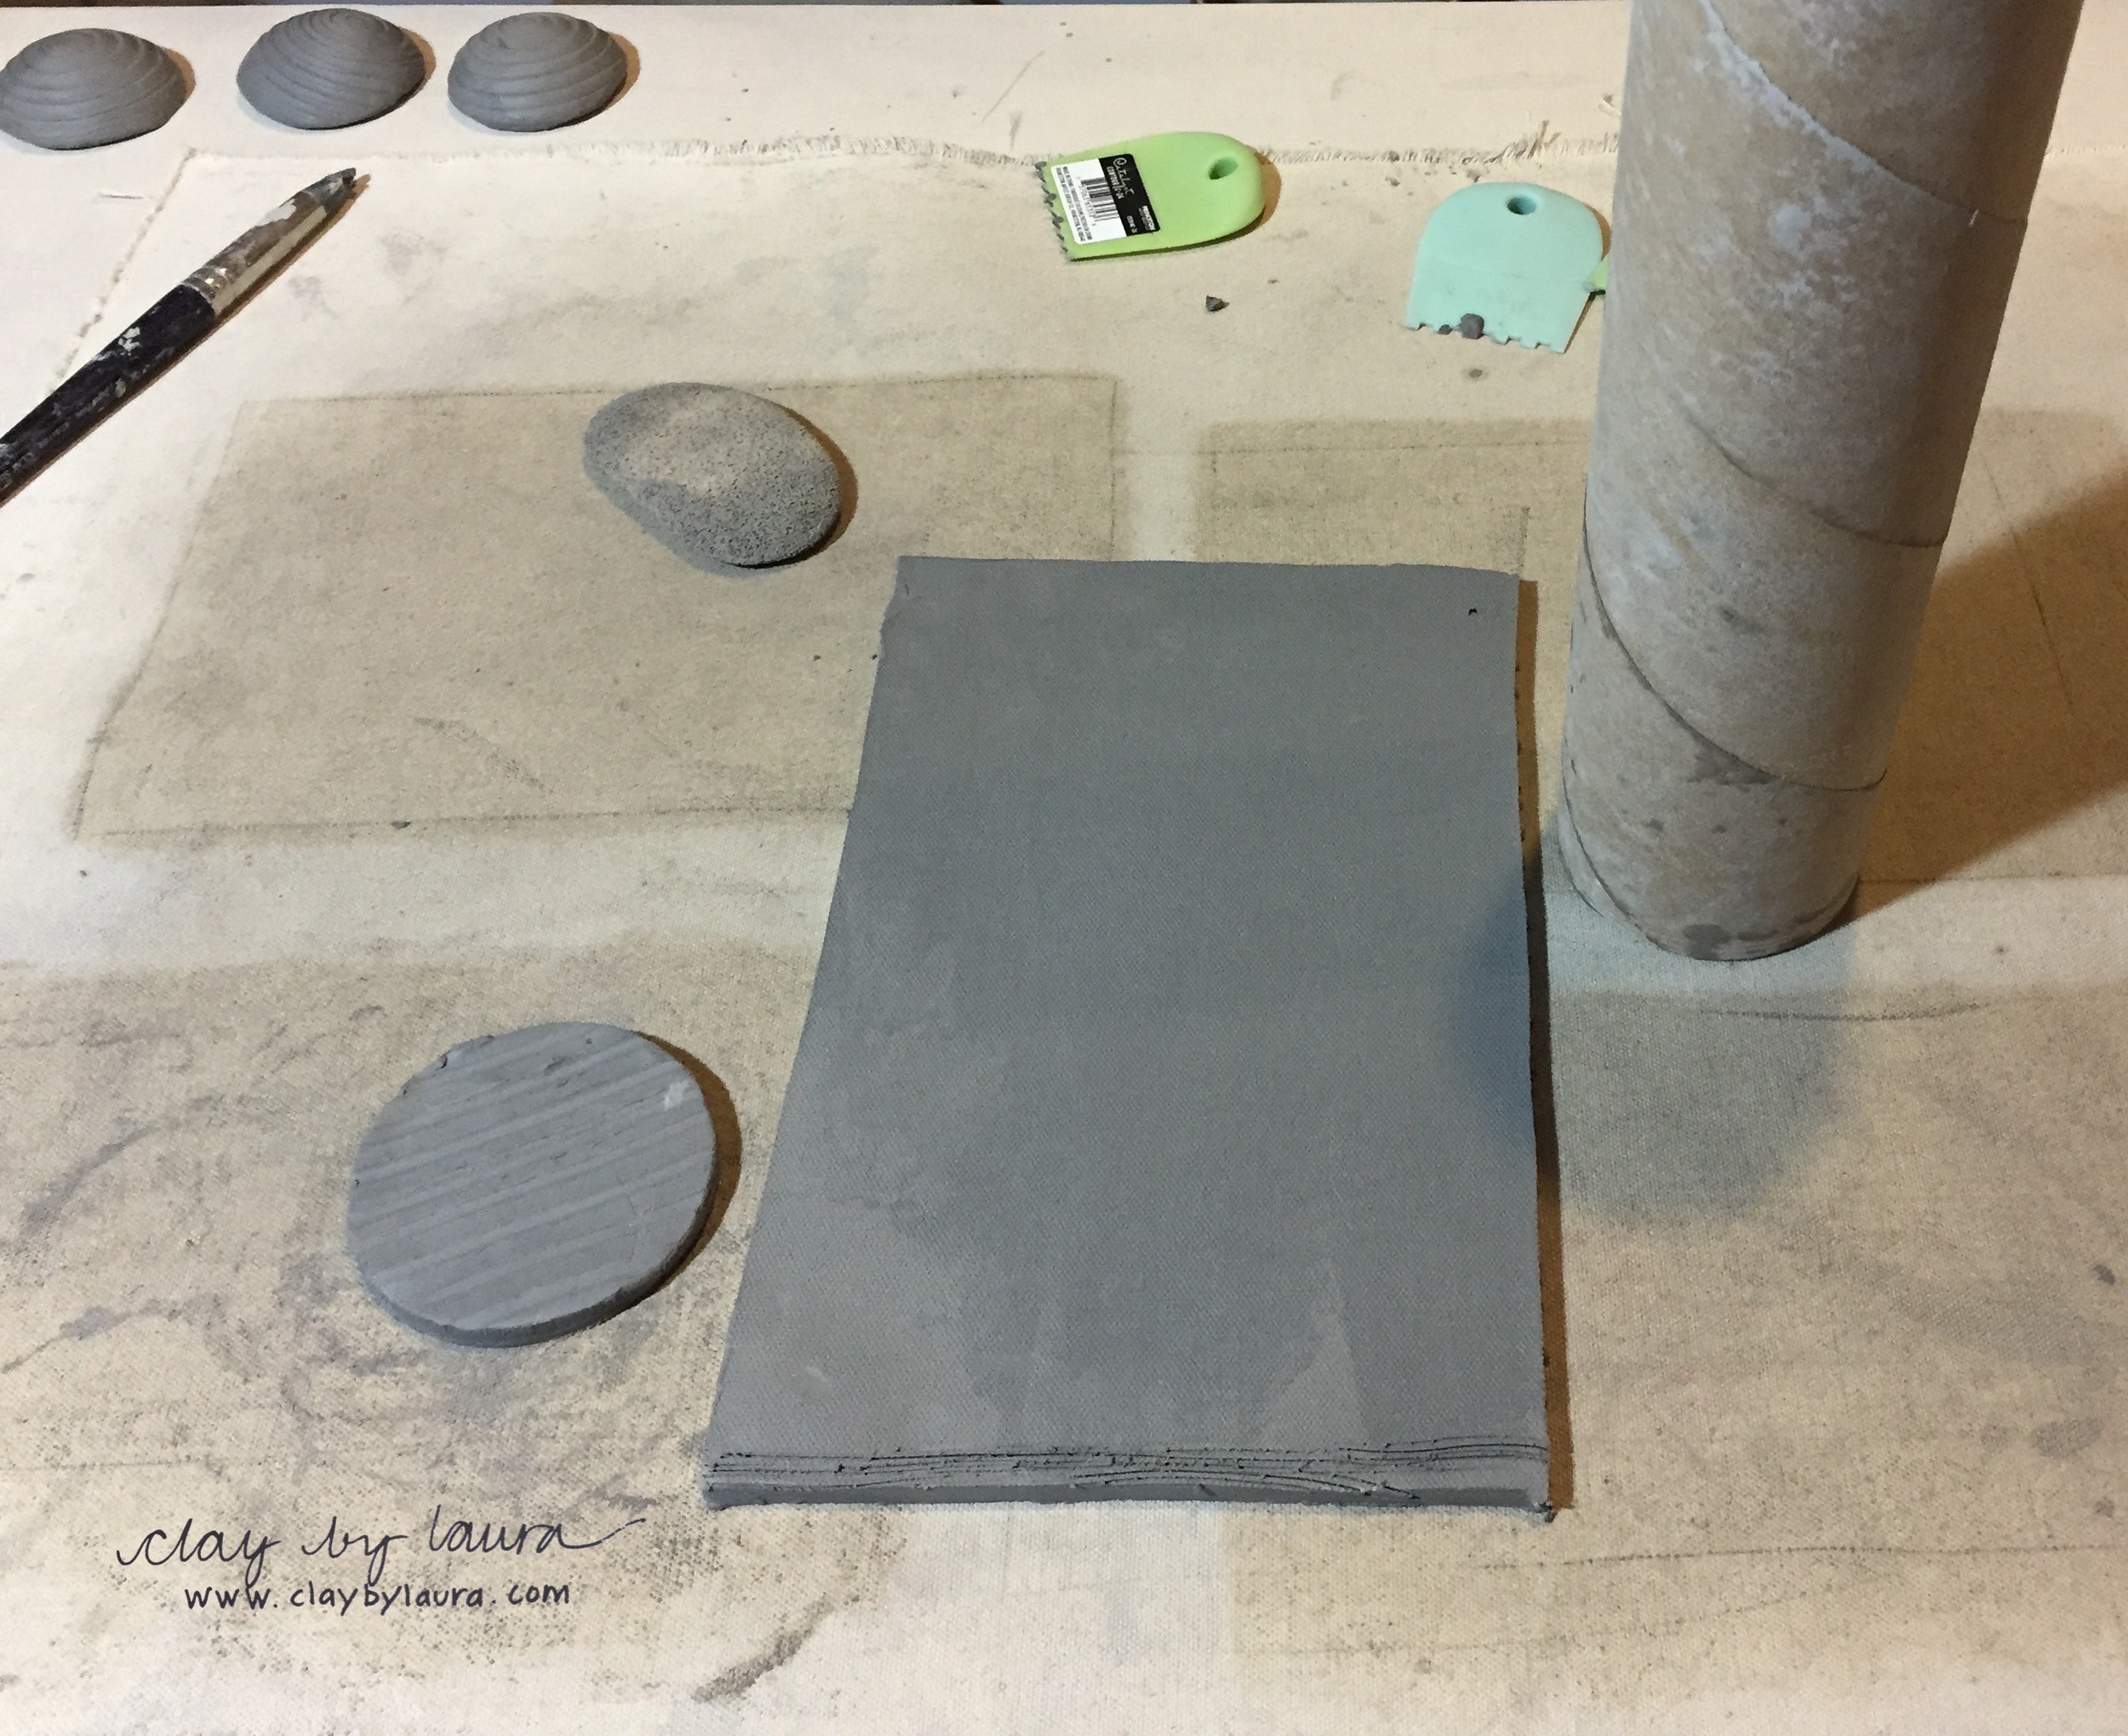
I shortened the height of the piece. The new rectangle is approximately 11 inches wide by 7 inches high. The original piece was about 12 inches tall.

I use a cardboard tube to roll up the rectangle into the appropriate shape.

The tube helps hold the round shape of the piece when it's stood on end.
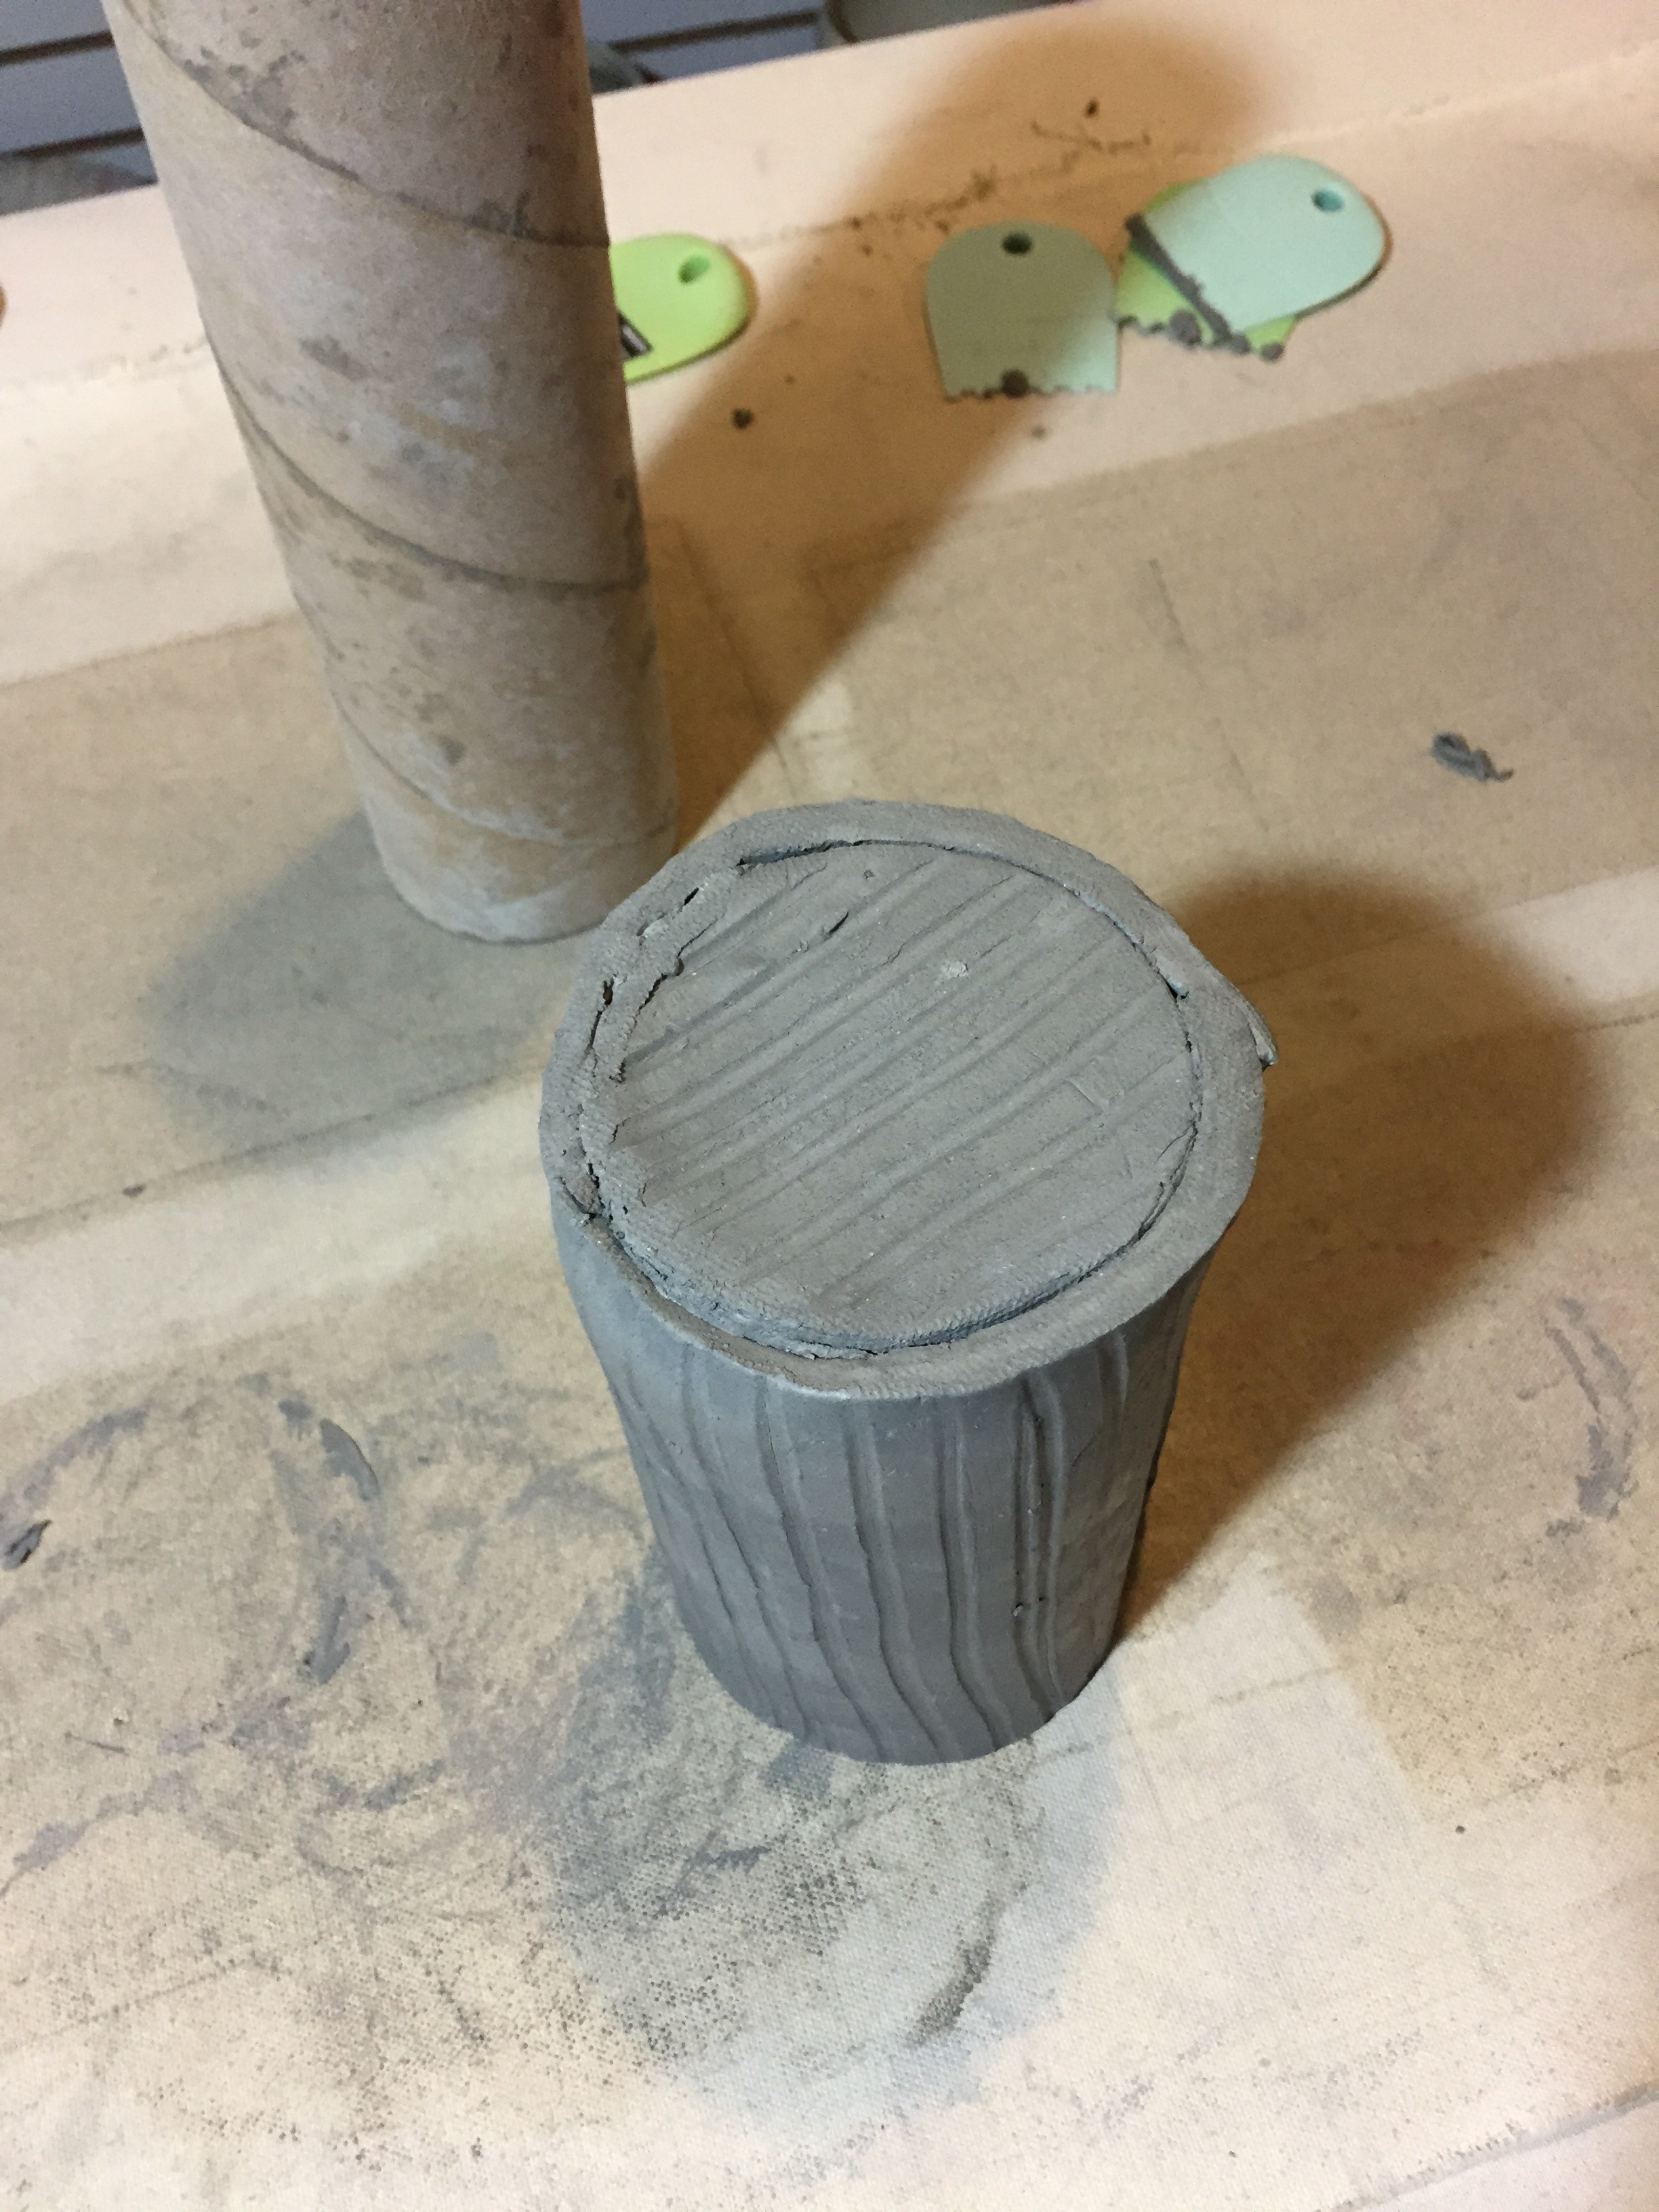
Once I've attached the bottom, I flip the piece to secure it properly. I use a sponge to compress the joint and make sure there are no gaps on the outside or inside of the pot.

Here you can see where I made improvements to the functionality of the bird feeder. I kept the same flower shape for the top of the feeder. I made the center of the flower removable so bird seed can easily be added to the feeder. I will still use buttons and fishing line as I did in the original design to suspend the flower once it has been glazed and fired. I changed the design of the feeding perch. I decided to use wire bent to look like flower leaves instead of the clay ones I created in the original design. I'll add these at the same time as the buttons and fishing line. I'm happy with these improvements and I think this bird feeder has been 'changed for the better!"


